Portrait: Canadian Virtual War Memorial (CVWM).
Military Service Record: Library and Archives Canada (LAC).
War Diary: Algonquin Regiment, Library and Archives Canada (LAC).
Casualty and burial information: Commonwealth War Graves Commission (CWGC).
Headstone photograph: Michael van de Velde.
Frederick WARD
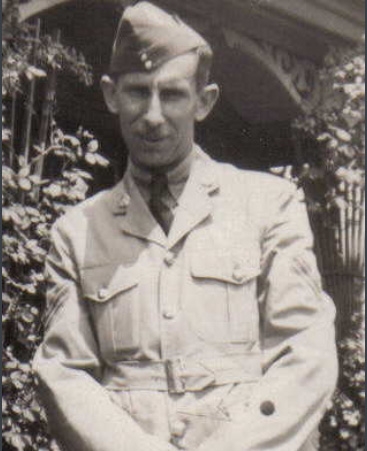
Military Information
Service Number
B/41966
(2nd/10th Dragoons, Royal Canadian Artillery)
Rank at Death
Rank History
1942-07-11
|
Private
1942-08-21
|
Lance Corporal
1942-11-01
|
Corporal
1943-09-21
|
Lance Sergeant
1943-11-10
|
Corporal
Engagement
Taken on Strength
1944-03-13
|
Algonquin Regiment, R.C.I.C.
Overseas
1944-02-16
|
United Kingdom
Disembarked
1944-07-23
|
France
Campaigns & Operations
Date of Death
Circumstances of Death
Killed in action
Personal Information
Birthdate
1908-02-24
Birthplace
Age
36
Parents
Thomas and Frances Louisa Ward (née Mills)
Marital Status
Single
Family in Service
Brothers Albert, Thomas and Edward served in the Army.
Religion
Occupation
War Diary
13 September 1944
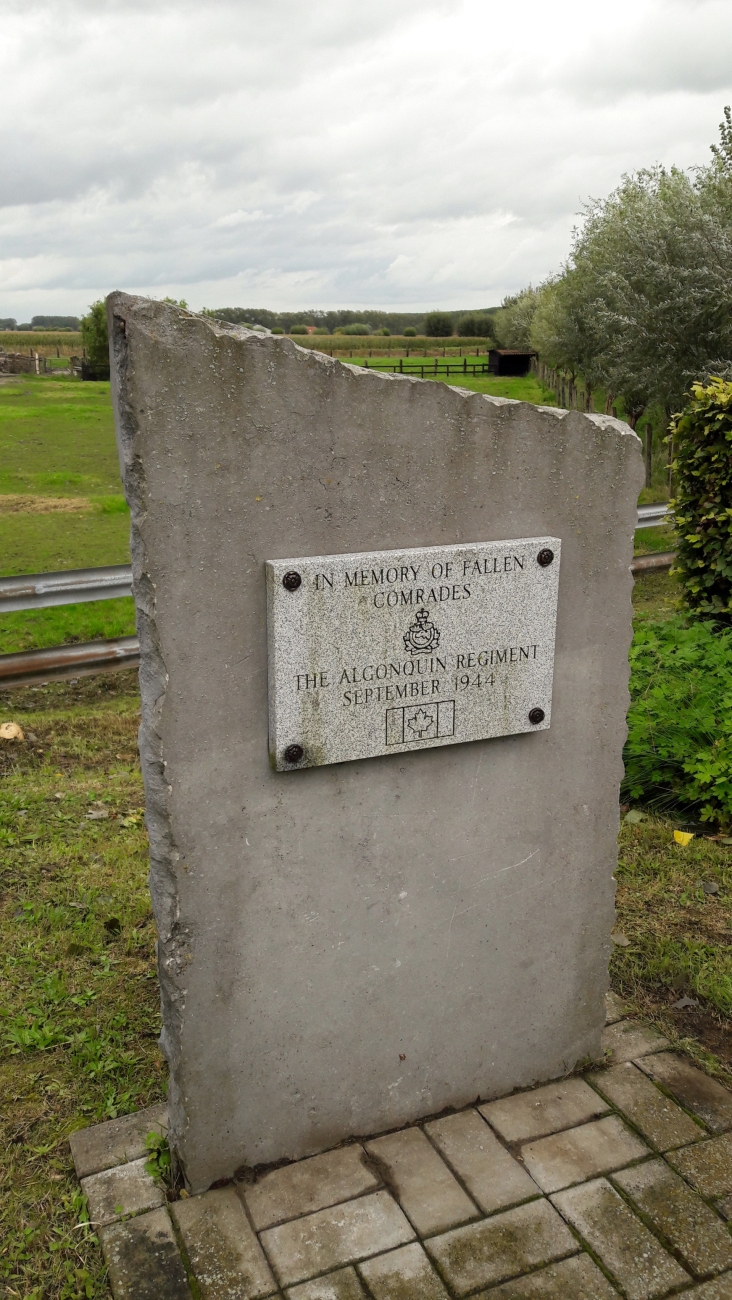
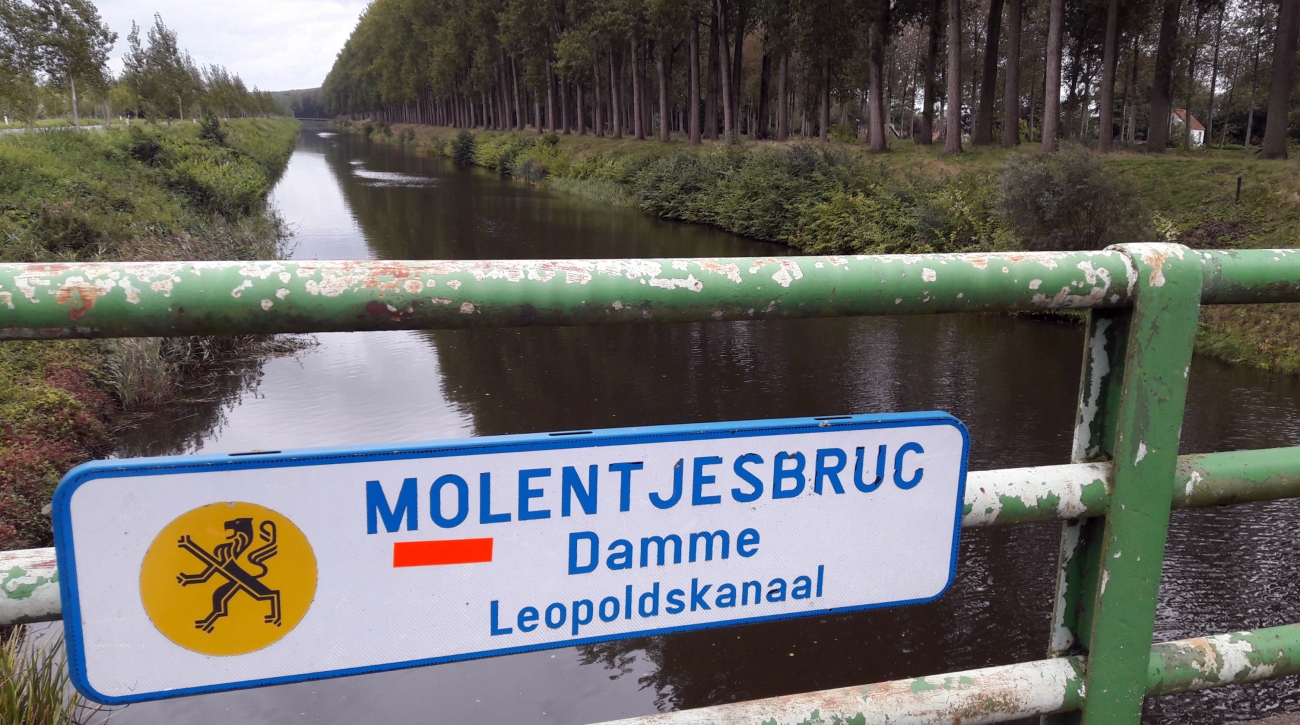
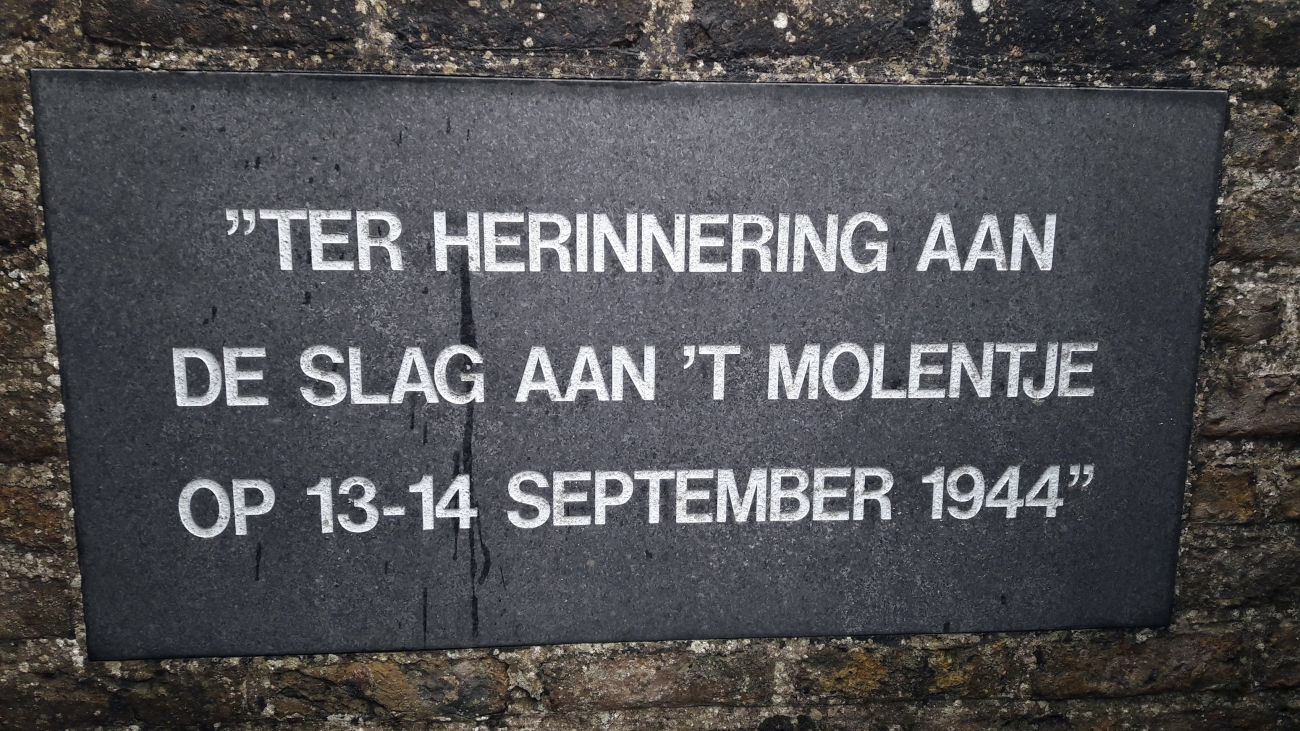
1. Lt-Col Bradburn was ordered today to make a bridgehead across the Leopold Canal at Moerkerke square 9303 (Moerkerke, Belgium) F and B sheet 21 and 31 and the day was spent in preparation for this assault.
2. Under cover of darkness the unit moved to Moerkerke and under a very heavy concentration of arty and mortar fire, they crossed the canal in assault boats. The canal at this point consisted of two streams, each 90' wide, separated by a dyke of the same width. The assault began at 2330 hrs with all coys taking part. Each coy had 90 men for the attack and 80 attached men from the Lincoln and Welland were used for the ferrying party.
3. The force was met by small arms fire, mortar and shell fire, and fire from a 20mm AA gun and one platoon of B Coy was unable to get past the dyke in the center of the canal.
4. During the night the coys dug in and repelled all enemy attempts to dislodge them while the Engineers started to work on a bridge.
14 September 1944
1. During the early morning A Coy reported a shortage of ammunition and before 1st light this was brought up to the canal but enemy fire prevented it being ferried across.
2. Also at 1st light the Engineers had to suspend operations on their bridge as enemy shelling became too intense in which to work.
3. All the time this action was going on the enemy brought shellfire to bear on Moerkerke. Comd post was twice shelled out of its position. The building used as an RAP was demolished and at that time Capt McKenzie MO and Capt Valentine, unit Padre were hurt. Though injured, Capt McKenzie did not stop to have his own wounds dressed until all others were cared for and evacuated.
4. Another attempt was made to cross the canal with ammunition at 0930 hrs and again at 1130 hrs. Both attempts failed due to enemy fire. Lt-Col Bradburn called for ammunition to be dropped by parachute but at the time no planes were available.
5. At 1030 hrs the Engineers attempted to put their bridge across again but enemy fire forced them to retire again.
6. Finally at 1200 hrs Lt-Col Bradburn received orders from Div HQ to withdraw. So under a smoke screen and a barrage which the arty, mortars and guns of the SAR tanks had been keeping up incessantly, the coys withdrew to the south side of the canal. On the way back they had to eliminate some enemy which had infiltrated and reached the dyke in the centre of the canal.
7. Since some of the men had to swim back across the canal, a great amount of equipment was left behind.
8. At 1500 hrs everyone was back in their original positions at Swaele.
9. We learned today that Father Mooney, RC Padre MID (Mentioned in Despatches) was killed during the enemy shelling. (Adegem / Plot 10, Row A, Grave 8)
10. An incident of interest is the case of four German PW who on reaching the south bank of the canal, took the boat back to the dyke and ferried several parties of our own men back to safety.
11. During the remainder of the day, patrols went out and picked up survivors who had managed to make their way back across the canal.
Eyewitness account by Capt Herbert
12. The following is an eyewitness account of the battle by Capt Herbert.
"After crossing the canal the two remaining platoons of B Coy ran through the town and dug in fifty yds from the crossroads. They were always under fire from every direction as the enemy had not been cleared out of the town. The posn became isolated and enemy infiltrated on every side. The coy with the help of two sections from A Coy fought the Germans less than 20 yards away. They broke up all attempts of enemy reinforcements reaching the town and had to leave their weapon slits every once in a while to clear the buildings behind them from which snipers were picking the men off. Ammunition ran out and under this extreme fire several men ran around and picked ammunition from the wounded and dead. Even the mortar was fired at point blank low angle until ammunition finished. The order was a German for every round of ammunition. Lt Roberts was killed by shrapnel while sitting in the same slit trench as myself. The Germans had then our positions and were dropping shells right into our lines. Fifty percent of the men were then wounded and this information was passed back to Comd Post. An order arrived to withdraw fighting from house to house. This was done until we fought our way back into the central perimeter of town. A new perimeter was formed and then the order came to withdraw. All wounded from the forward areas were taken out."
Eyewitness account by Maj A K Stirling
13. The following is another eyewitness account of the battle by Maj A K Stirling who was also on the scene.
"At approx 2230 hrs 14 Sep 44 'C' Coy which was under my comd accompanied the three other rifle coys of the bn in the crossing of the Leopold Canal at Moerkerke Map Ref 935036, 1/25,000, sheet 21 SW Zeebrugge SW. The coy made a successful assault crossing and attacked the enemy positions on the far bank. One platoon lined the bank while the other two went forward clearing the enemy and taking up a position along a line of trees stretching from a point about 20 yds from the Canal to a point approx 200 yds further inland. Just before daybreak the enemy started counter-attacking the position and under cover of darkness succeeded in infiltrating between the forward platoons and the one on the bank. These counter attacks continued throughout the morning. These attacks were accompanied by heavy mortar and arty fire. I had been with the two forward platoons and had returned to the platoon on the canal bank just before the counter-attacks started. We fought off various enemy attacks on our position observing and firing upon the enemy who had succeeded in occupying part of one of the forward platoons position along the line of trees directly between us and the far forward platoons. At any sign of movement from our position the enemy would open up with SA automatic fire accompanied by Mortar and shelling. Attempts were made to contact the forward platoons by shouting, but this had no results. By this time the platoon along the bank had suffered 12 casualties and a few were shocked by the mortar and shell fire.
A smoke screen was laid down by our own arty accompanied by HE both from our own and from the enemy. This fire came down directly on our position and on our forward platoons. During the time this was laid down we observed the men from the other coys withdrawing across the canal about 300 yds from us. Since the others were withdrawing and we had so few able-bodied men left we were forced to do likewise taking our wounded with us. The two forward platoons being cut off were unable to withdraw."
Casualty report
14. A reckoning was taken of the casualties and the following figure at the time was as follows: 7 officers and 138 ORs. Two entire platoons of C Coy are listed as missing. Lt Roberts killed, Lt Hunter Missing, Lt Dutcher, Lt Peart, Lt Butler W., Capt McKenzie, Capt Valentine, Lt Gartley were wounded.
15. The men who returned said that the German losses must have been many times as heavy. Some ventured a guess that the Germans may have lost as many as 750 men.
16. The Mobile Bath was set up today and everyone was able to take advantage of it.
17. One hour after Capt McKenzie and H/Capt Valentine were hurt, Capt Barrie came forward and took over the duties of MO while later in the day Capt Murdock took over as Padre.
1. Lt-Col Bradburn was ordered today to make a bridgehead across the Leopold Canal at Moerkerke square 9303 (Moerkerke, Belgium) F and B sheet 21 and 31 and the day was spent in preparation for this assault.
2. Under cover of darkness the unit moved to Moerkerke and under a very heavy concentration of arty and mortar fire, they crossed the canal in assault boats. The canal at this point consisted of two streams, each 90' wide, separated by a dyke of the same width. The assault began at 2330 hrs with all coys taking part. Each coy had 90 men for the attack and 80 attached men from the Lincoln and Welland were used for the ferrying party.
3. The force was met by small arms fire, mortar and shell fire, and fire from a 20mm AA gun and one platoon of B Coy was unable to get past the dyke in the center of the canal.
4. During the night the coys dug in and repelled all enemy attempts to dislodge them while the Engineers started to work on a bridge.
14 September 1944
1. During the early morning A Coy reported a shortage of ammunition and before 1st light this was brought up to the canal but enemy fire prevented it being ferried across.
2. Also at 1st light the Engineers had to suspend operations on their bridge as enemy shelling became too intense in which to work.
3. All the time this action was going on the enemy brought shellfire to bear on Moerkerke. Comd post was twice shelled out of its position. The building used as an RAP was demolished and at that time Capt McKenzie MO and Capt Valentine, unit Padre were hurt. Though injured, Capt McKenzie did not stop to have his own wounds dressed until all others were cared for and evacuated.
4. Another attempt was made to cross the canal with ammunition at 0930 hrs and again at 1130 hrs. Both attempts failed due to enemy fire. Lt-Col Bradburn called for ammunition to be dropped by parachute but at the time no planes were available.
5. At 1030 hrs the Engineers attempted to put their bridge across again but enemy fire forced them to retire again.
6. Finally at 1200 hrs Lt-Col Bradburn received orders from Div HQ to withdraw. So under a smoke screen and a barrage which the arty, mortars and guns of the SAR tanks had been keeping up incessantly, the coys withdrew to the south side of the canal. On the way back they had to eliminate some enemy which had infiltrated and reached the dyke in the centre of the canal.
7. Since some of the men had to swim back across the canal, a great amount of equipment was left behind.
8. At 1500 hrs everyone was back in their original positions at Swaele.
9. We learned today that Father Mooney, RC Padre MID (Mentioned in Despatches) was killed during the enemy shelling. (Adegem / Plot 10, Row A, Grave 8)
10. An incident of interest is the case of four German PW who on reaching the south bank of the canal, took the boat back to the dyke and ferried several parties of our own men back to safety.
11. During the remainder of the day, patrols went out and picked up survivors who had managed to make their way back across the canal.
Eyewitness account by Capt Herbert
12. The following is an eyewitness account of the battle by Capt Herbert.
"After crossing the canal the two remaining platoons of B Coy ran through the town and dug in fifty yds from the crossroads. They were always under fire from every direction as the enemy had not been cleared out of the town. The posn became isolated and enemy infiltrated on every side. The coy with the help of two sections from A Coy fought the Germans less than 20 yards away. They broke up all attempts of enemy reinforcements reaching the town and had to leave their weapon slits every once in a while to clear the buildings behind them from which snipers were picking the men off. Ammunition ran out and under this extreme fire several men ran around and picked ammunition from the wounded and dead. Even the mortar was fired at point blank low angle until ammunition finished. The order was a German for every round of ammunition. Lt Roberts was killed by shrapnel while sitting in the same slit trench as myself. The Germans had then our positions and were dropping shells right into our lines. Fifty percent of the men were then wounded and this information was passed back to Comd Post. An order arrived to withdraw fighting from house to house. This was done until we fought our way back into the central perimeter of town. A new perimeter was formed and then the order came to withdraw. All wounded from the forward areas were taken out."
Eyewitness account by Maj A K Stirling
13. The following is another eyewitness account of the battle by Maj A K Stirling who was also on the scene.
"At approx 2230 hrs 14 Sep 44 'C' Coy which was under my comd accompanied the three other rifle coys of the bn in the crossing of the Leopold Canal at Moerkerke Map Ref 935036, 1/25,000, sheet 21 SW Zeebrugge SW. The coy made a successful assault crossing and attacked the enemy positions on the far bank. One platoon lined the bank while the other two went forward clearing the enemy and taking up a position along a line of trees stretching from a point about 20 yds from the Canal to a point approx 200 yds further inland. Just before daybreak the enemy started counter-attacking the position and under cover of darkness succeeded in infiltrating between the forward platoons and the one on the bank. These counter attacks continued throughout the morning. These attacks were accompanied by heavy mortar and arty fire. I had been with the two forward platoons and had returned to the platoon on the canal bank just before the counter-attacks started. We fought off various enemy attacks on our position observing and firing upon the enemy who had succeeded in occupying part of one of the forward platoons position along the line of trees directly between us and the far forward platoons. At any sign of movement from our position the enemy would open up with SA automatic fire accompanied by Mortar and shelling. Attempts were made to contact the forward platoons by shouting, but this had no results. By this time the platoon along the bank had suffered 12 casualties and a few were shocked by the mortar and shell fire.
A smoke screen was laid down by our own arty accompanied by HE both from our own and from the enemy. This fire came down directly on our position and on our forward platoons. During the time this was laid down we observed the men from the other coys withdrawing across the canal about 300 yds from us. Since the others were withdrawing and we had so few able-bodied men left we were forced to do likewise taking our wounded with us. The two forward platoons being cut off were unable to withdraw."
Casualty report
14. A reckoning was taken of the casualties and the following figure at the time was as follows: 7 officers and 138 ORs. Two entire platoons of C Coy are listed as missing. Lt Roberts killed, Lt Hunter Missing, Lt Dutcher, Lt Peart, Lt Butler W., Capt McKenzie, Capt Valentine, Lt Gartley were wounded.
15. The men who returned said that the German losses must have been many times as heavy. Some ventured a guess that the Germans may have lost as many as 750 men.
16. The Mobile Bath was set up today and everyone was able to take advantage of it.
17. One hour after Capt McKenzie and H/Capt Valentine were hurt, Capt Barrie came forward and took over the duties of MO while later in the day Capt Murdock took over as Padre.
Awards & Medals

1939-45 Star
The 1939-1945 Star is a Second World War medal that was issued between 02 September 1939 and 08 May 1945 (Europe) or 02 September 1945 (Pacific). The medal was awarded for six months service on active operations for Army and Navy, and two months for active air-crew. Battle of Britain - This bar was awarded to those members of the crews of fighter aircraft who took part in the Battle of Britain between 10 July and 31 October 1940. The Bomber Command - For Veterans who served with the British Forces, the bar is worn on the 1939-45 Star. For Canadian Armed Forces Veterans, the bar is worn on the Canadian Volunteer Service Medal.
France and Germany Star
The star was awarded for one day or more of service in France, Belgium, Holland or Germany between 06 June 1944 (D-Day) and 08 May 1945. If later entitled to the Atlantic star, the ATLANTIC bar would be worn. The Aircrew Europe Bar is not issued with this star because one could not qualify for that star after 05 June 1944. Regulations only allow one bar to be worn with the Star. When the ribbon is worn alone, a silver rosette ribbon emblem is worn to denote the award of a bar to the medal.
Canadian Volunteer Service Medal
The CVSM is granted to persons of any rank in the Naval, Military or Air Forces of Canada who voluntarily served on Active Service and honourably completed eighteen months total voluntary service from 3 September 1939 to 1 March 1947. A silver bar (often called a clasp), a maple leaf at its centre, was awarded for 60 days service outside Canada. A silver maple leaf is worn on the ribbon in undress. The Bomber Command Bar is awarded to Canadian Veterans who, regardless of rank or role, served a minimum of one day with Bomber Command between 3 September 1939, and 8 May 1945 (Victory in Europe Day). Recognizing that the successes of Bomber Command started on the ground and finished in the air over Fortress Europe, all Canadian Bomber Command Veterans who earned the CVSM, regardless of rank or role, are eligible for the honour. The Dieppe Bar is awarded to those who participated in the Dieppe Raid on August 19, 1942, and is worn on the CVSM ribbon. A silver bar, to be attached to the ribbon of the CVSM has been designed featuring the word DIEPPE in raised letters on a pebbled background. Above this, the bar bears an anchor surmounted by an eagle and a Thompson sub-machine gun. The design was created in consultation with the Dieppe Veterans and Prisoners of War Association.
War Medal 1939-1945
The medal was awarded to all full-time personnel of the Armed Forces and Merchant Marines for serving for 28 days between 03 September 1939 and 02 September 1945. In the Merchant Navy, the 28 days must have been served at sea. A single oak leaf emblem is worn to signify a Mention-in-Despatches and the silver oak leaf signifying a King's Commendation for Brave Conduct is worn on this medal. There is no bar other than these emblems.
Temporary Burial
Headstone
Image
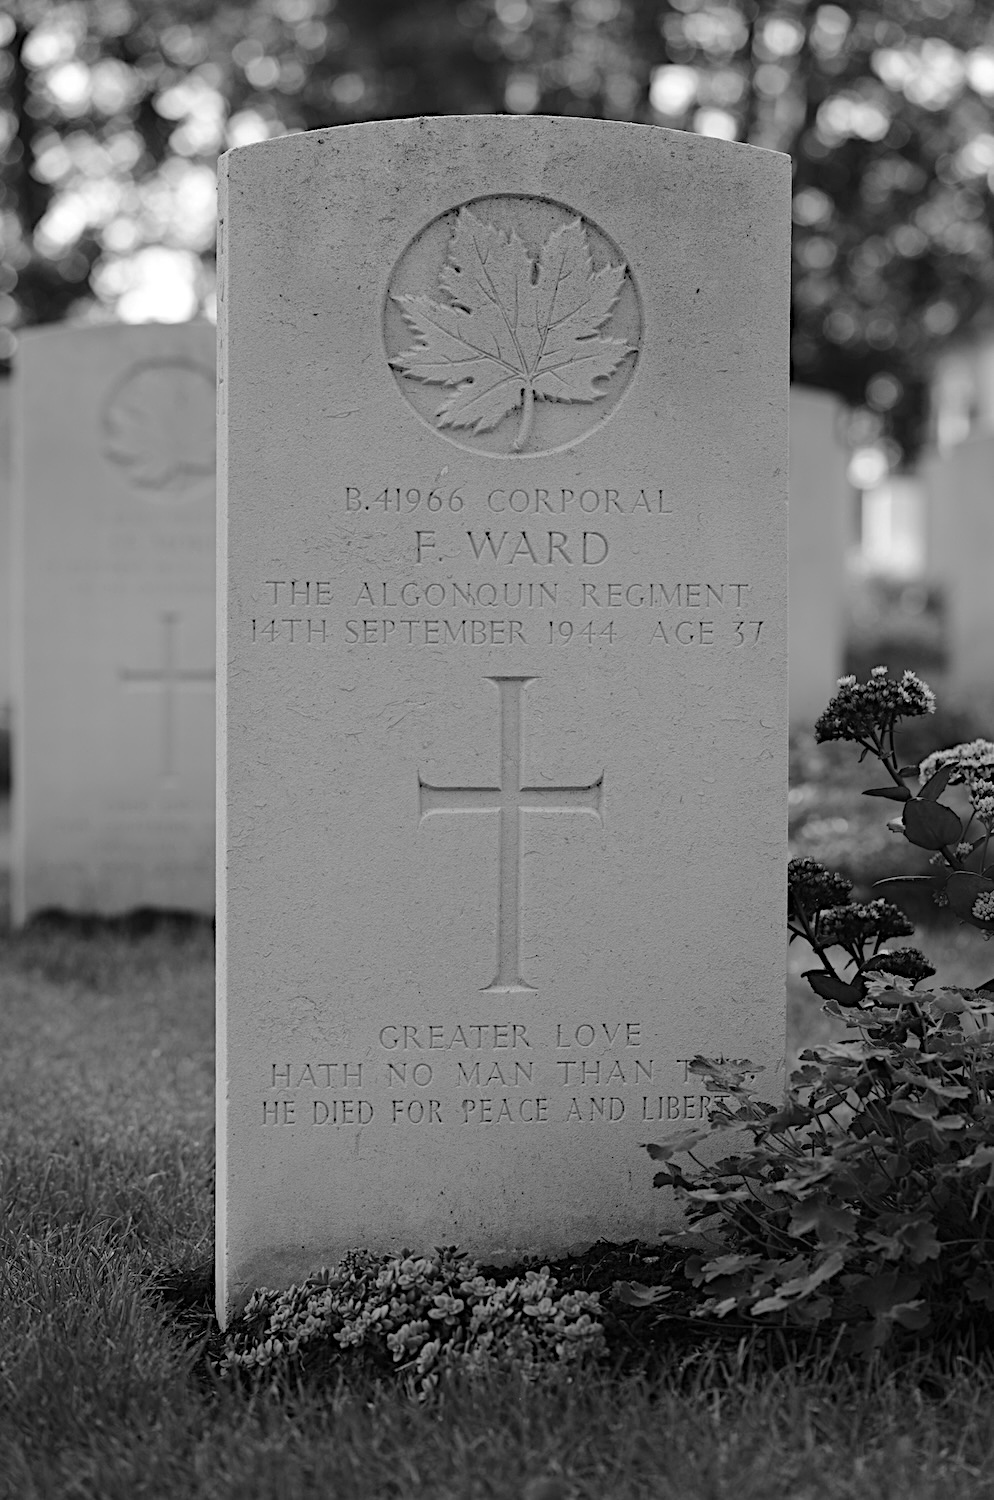
Plot 3 | Row A | Grave 1
GREATER LOVE HATH NO MAN THAN THIS: HE DIED FOR PEACE AND LIBERTY
Photos